

Tanacross Cardigan + Fringe = FABULOUS
isOne of the things I LOVE about the Tanacross Cardigan is that by just adding a simple fringe you can completely change the look! When I first made this pattern I absolutely LOVED it, the way the collar and front pieces waterfall and lay, the length, the way you can either wear it open or button up the sides when it gets chilly, the fit.... This cardigan is PERFECT!!!!! 😍😍😍😍😍
When I first saw the listing pictures I LOVED how some of them had this SUPER CUTE fringe added to them and thought it looked AMAZING! I've never added fringe to anything before though so wasn't sure how well I'd be able to pull it off. After sewing the pattern a couple of times though and seeing how EASY and QUICK it is I decided why not go a little step further and try something new? I found some FABULOUS fringe that when paired with some Navy Chunky Waffle Knit and some BEAUTIFUL button fringe that completmented this GORGEOUS Ivory and Gold Sweater Knit and sat down with my seam ripper at the ready and got to work. Turns out I didn't need the seam ripper and adding fringe has to be one of the EASIEST things I've ever added onto a pattern.

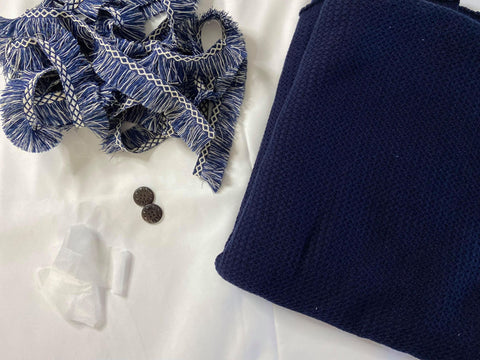
First things first, make sure you have a copy of the Tanacross Pattern from Pattern Niche. It comes in both Adult (xx-small to 26) and Kids (12-18months to 16). You are also going to want to grab some fabric with at least 25% stretch. French Terry and Sweater Knit are my favorites, but you could definitely make this out of Double Brushed Poly even some of the Rib Knit and Stretch Corduroy bases you can get some of the In House Printing Yardage on would be AMAZING!! You're also going to want to grab some fringe, 2 1" buttons, and a little bit of interfacing.
Once you've got your supplies cut out your fabric. You will need to cut 1 back piece on the fold, 2 mirror image front pieces and 2 sleeves. Make sure to make the button hole and button placement marks. Cut out your interfacing and draw the button hole line on the 2x2 pieces. Iron the interfacing onto the pattern pieces and then you are ready to start sewing it up!

Sew up the pattern according to the instructions. Then hem the collar, bottom, and one side like you normaly would.


Now comes the FUN part.... adding the fringe! Check out this video on how I did it:
Now add your buttons and button holes and you've done it! You added fringe to your Tanacross!!!! Now it's time to take treat yourself to a night on the town, because I mean you can't keep something this FABULOUS at home am I right?!?!?!?!


xoxo- Melissa 😘