

Tami Hoodie Thumbhole Hack
Pattern Niche Tami Hoodie Thumbhole Hack
Hello! Jenna here. I’m obsessed with thumbholes and was asked to share this hack with you during the Tami Hoodie Sew-a-long Week. Are you a thumbhole person, but maybe not ready to dive into sewing them? Today, I will show you this hack for the Tami Hoodie that I hope will help you work up the courage to try them yourself. There are many different thumbhole styles, so be sure to give a few a try until you find a style that you like! Okay, let’s get started!
First, you’ll need head over to the Pattern Nice Facebook Group, and then download the “Thumbhole Hack” from the files section. Be sure to print it at 100% scaling, and double check the 2” box once it’s printed. If you don’t already have the Tami Hoodie, that’s fine. I’ve used this hack on several long sleeve top patterns, and it works great for any standard sleeve. If you need it, you can grab it HERE*.
Next, you’ll need to extend your sleeve piece by 4.5 inches. Then you can get to hacking with your handy dandy pattern pieces. There are three pattern pieces for this hack, labeled Piece A, B, and C. Once your sleeve is cut with the extension, you’ll need Piece C. Take your mirrored sleeves, place Piece C on the “Front” side of the sleeve with the straight edge of the pattern piece aligned with the straight edge of the cut pieces, then cut around the piece.


Next, you’ll need whatever fabric you want to use for the other pieces. I always like to use a coordinating color or print, but if you want it to be more of a hidden feature, you can use the same fabric that you used for the sleeves. Take Pieces A and B and cut two of each, mirrored.

Now take Piece B, and serge along the curved edge of each piece. Take both of the A pieces and hem them at a half an inch. Now you can overlap pieces A and B, right sides up, with the hemmed piece on top of the serged piece. Baste these pieces together where the two pieces overlap. At this point, you’re ready to attach the pieces to the sleeves where you cut out Piece C.

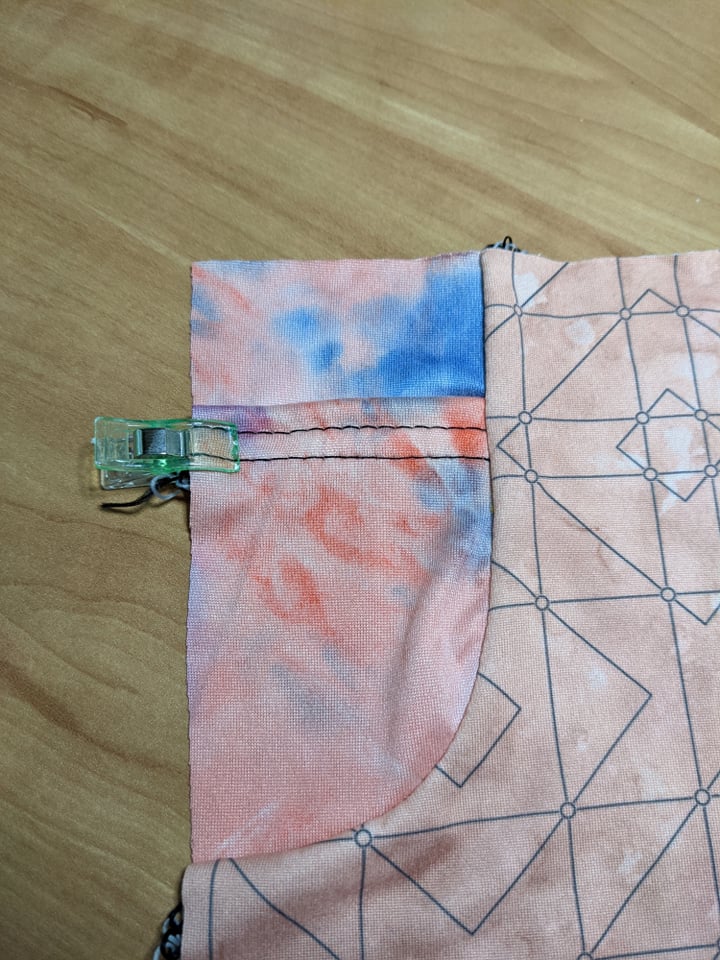
Align the curved edges and clip/pin to the curved cutout of the sleeve, then attach with your machine. You can hem now to avoid having to tie off your stitches, or you can hem after you sew the sleeve if you want clean hem stitching. I hemmed before sewing my shirt.
Now you can finish your hoodie and enjoy your new thumbholes! Have any questions? Feel free to post in the A+E Facebook Group and tag me for assistance! I used the Sassy Tiger Panel* and Peach Geo Yardage* on DBP to make this top.


Take care and as always, happy sewing!
-Jenna Hobbs
*This blog post contains affiliate links, which I may earn a small commission from if any purchases are made with them. I appreciate your support as every bit helps me to keep sewing pretty things.